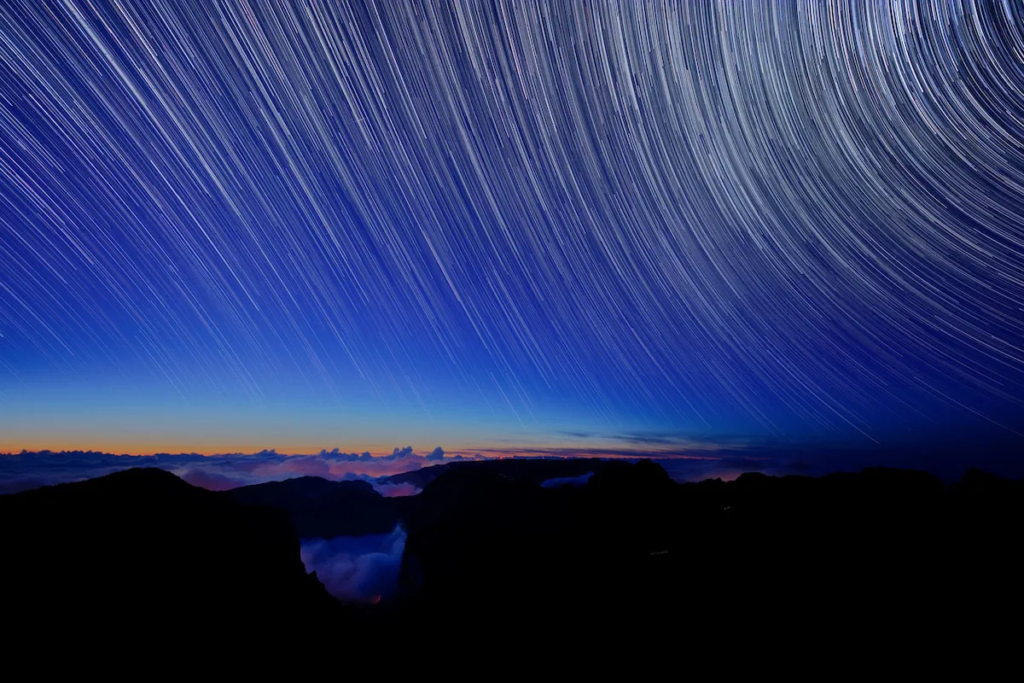
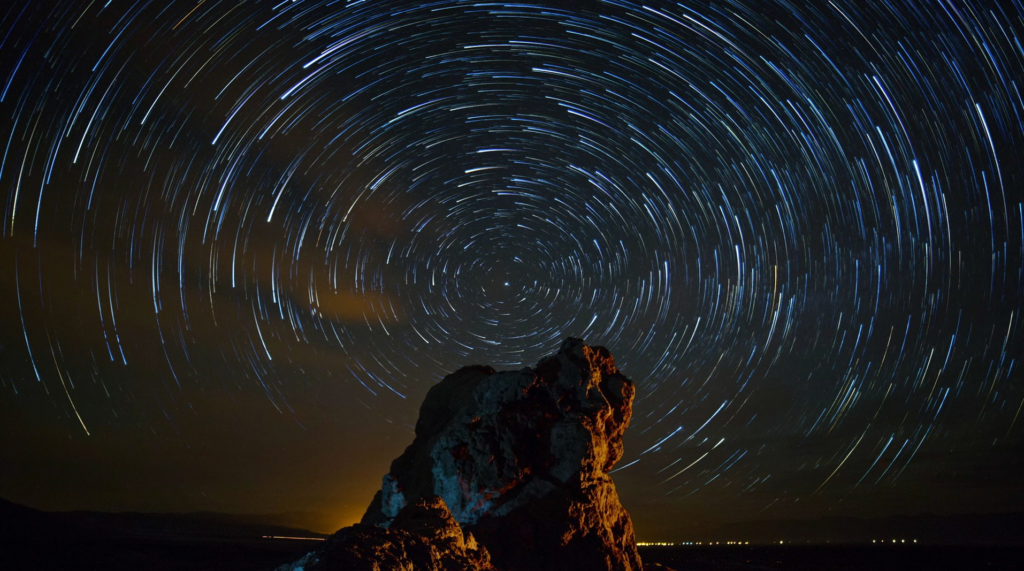
Capturing the beauty of the night sky through time-lapse video can be a rewarding endeavor. The stars, planets, and celestial phenomena offer a dynamic canvas that changes with the passage of time. This guide will walk you through the essential steps to create captivating time-lapse videos of the night sky, covering equipment selection, camera settings, shooting techniques, and post-processing.
Understanding Time-Lapse Photography
Time-lapse photography involves taking a series of images at set intervals and then playing them back at a higher frame rate. This technique allows you to condense long periods into a short video, revealing the movement of celestial bodies and the transformation of the night sky.

Equipment Essentials
1. Camera: A DSLR or mirrorless camera is ideal for time-lapse photography due to their manual settings and interchangeable lenses. While some compact cameras may suffice, they often lack the necessary controls for low-light situations.
2. Lens: A wide-angle lens is preferable for capturing expansive views of the sky. Look for lenses with a low f-stop (e.g., f/2.8 or lower) to allow more light to enter, which is crucial for night photography.
3. Tripod: Stability is key in time-lapse photography. A sturdy tripod will prevent camera shake and ensure consistent framing throughout your shoot.
4. Intervalometer: This device allows you to set the intervals at which your camera takes photos. Some cameras have built-in intervalometers, but external ones can provide more flexibility.
5. Memory Cards: High-capacity and high-speed memory cards are essential, as time-lapse photography can require hundreds or thousands of images.
6. Battery: Nighttime shoots can drain your camera’s battery quickly. Bring extra batteries or a portable power source to ensure you can shoot for extended periods.
Choosing the Right Location
Selecting a suitable location is crucial for capturing stunning night sky time-lapses. Here are some factors to consider:
1. Light Pollution: Urban areas often have significant light pollution, which can obscure celestial objects. Look for dark sky locations, such as national parks or remote areas, where artificial light is minimal.
2. Clear Skies: Check weather forecasts for clear skies. Clouds can obstruct your view of the stars, so aim for nights with minimal cloud cover.
3. Foreground Elements: Including interesting foreground elements, such as trees, mountains, or buildings, can add depth and context to your time-lapse. Scout locations during the day to find compelling compositions.
Camera Settings
Once you’ve chosen your location and gathered your equipment, it’s time to set up your camera. Here are the key settings to consider:
1. Manual Mode: Set your camera to manual mode to have full control over exposure settings. This allows you to adjust the aperture, shutter speed, and ISO independently.
2. Aperture: Use a wide aperture (low f-stop) to let in as much light as possible. This is especially important for capturing faint stars and celestial events.
3. Shutter Speed: The shutter speed will depend on the movement of the stars and the effect you want to achieve. A good starting point is between 15 to 30 seconds. Longer exposures can create star trails, while shorter ones can capture pinpoints of light.
4. ISO: Set your ISO to a higher value (e.g., 800 to 3200) to increase sensitivity to light. However, be cautious of noise; test different ISO settings to find a balance between brightness and image quality.
5. White Balance: Set your white balance to a fixed value (e.g., 3500K) to maintain consistent color throughout your time-lapse. Avoid using auto white balance, as it can lead to color shifts in your images.
6. Focus: Manually focus your lens on a distant star or bright object. Autofocus can struggle in low light, leading to blurry images.

Shooting Techniques
With your camera settings dialed in, it’s time to start shooting. Here are some techniques to enhance your time-lapse videos:
1. Interval Settings: Determine the interval between shots based on the speed of the celestial movement you want to capture. For star movements, intervals of 10 to 30 seconds work well. For faster-moving objects, like clouds or the Milky Way, shorter intervals may be necessary.
2. Duration: Plan for how long you want to shoot. A longer duration will yield more images, resulting in a smoother time-lapse. Aim for at least 30 minutes of shooting time to create a compelling video.
3. Monitor Your Shots: Periodically check your camera to ensure it’s functioning correctly. Look for any signs of lens fogging or battery depletion.
4. Use a Remote Shutter Release: If your camera doesn’t have an intervalometer, consider using a remote shutter release to minimize camera shake when taking pictures.

Post-Processing Your Time-Lapse
Once you’ve captured your images, the next step is post-processing. This is where you can bring your time-lapse to life:
1. Image Sequence: Import your images into video editing software that supports image sequences (e.g., Adobe Premiere Pro, Final Cut Pro, or specialized software like LRTimelapse).
2. Frame Rate: Set your desired frame rate for the time-lapse. Common frame rates include 24, 30, or 60 frames per second. The choice will affect the speed of the playback.
3. Color Correction: Adjust the colors to enhance the overall look of your time-lapse. Use tools to correct exposure, contrast, and saturation, ensuring the final video reflects the beauty of the night sky.
4. Stabilization: If your footage has any unwanted shakes, consider using stabilization tools in your editing software to smooth out the video.
5. Add Music or Sound: Consider adding a soundtrack to your time-lapse video. Choose music that complements the visuals and enhances the viewing experience.
6. Export: Once you’re satisfied with your edits, export your time-lapse video in a suitable format for sharing on social media or other platforms.
Time-Lapse Astronomy
Capturing time-lapse videos of the night sky is a blend of art and science. With the right equipment, settings, and techniques, you can create stunning visual narratives that showcase the beauty of the cosmos. Remember to be patient and experiment with different approaches, as each night can offer unique opportunities. Whether you’re a seasoned photographer or a beginner, the night sky awaits your creative vision.
By following these guidelines, you’ll be well on your way to producing captivating time-lapse videos that not only document the movement of celestial bodies but also inspire awe and wonder in those who watch them. Happy shooting!

