What Is Astrophotography?
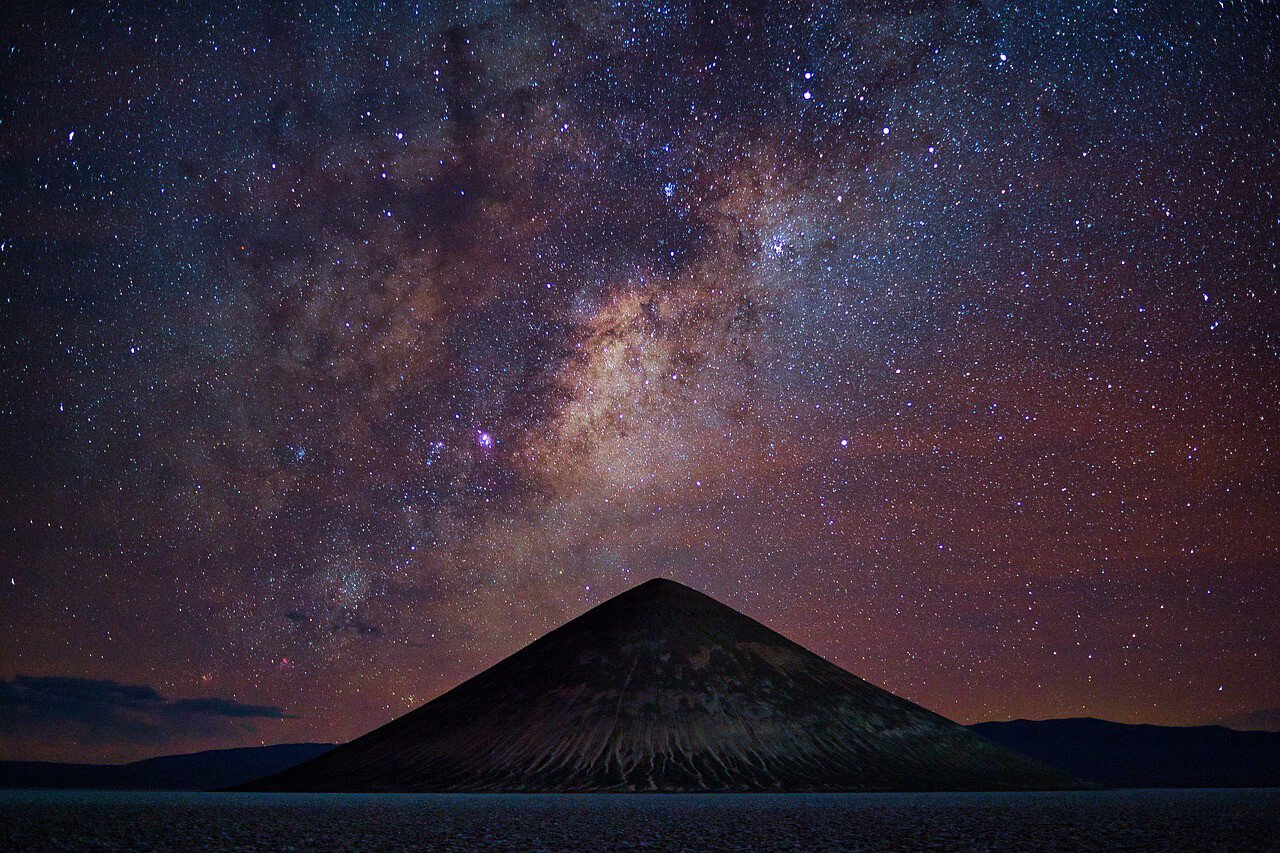
Astrophotography is the practice of photographing celestial objects such as stars, planets, galaxies, and nebulae. Whether you’re capturing the Moon with a smartphone or taking deep-space images with a telescope-mounted camera, astrophotography is an exciting way to explore and document the universe.
There are several types of astrophotography:
- Wide-Field Astrophotography: Captures constellations, meteor showers, and the Milky Way using a regular camera and lens.
- Planetary Astrophotography: Focuses on detailed images of planets and the Moon.
- Deep-Sky Astrophotography: Involves capturing distant galaxies, nebulae, and star clusters using a telescope.
- Lunar and Solar Photography: Specialized techniques for photographing the Moon and Sun (with a proper solar filter).
Essential Equipment for Astrophotography
1. Cameras
- DSLR/Mirrorless Cameras: Versatile and great for beginners. Examples: Canon EOS Ra, Nikon Z6 II.
- Dedicated Astronomy Cameras: Specialized for deep-sky photography. Examples: ZWO ASI294MC Pro, QHYCCD 268M.
- Smartphones: Can capture basic night sky images with apps like NightCap Camera.
2. Lenses and Telescopes
- Wide-Angle Lenses (14mm–35mm): Ideal for capturing the Milky Way. Example: Rokinon 14mm f/2.8.
- Telephoto Lenses (100mm–400mm): Great for zooming in on the Moon and planets. Example: Sigma 150-600mm.
- Telescopes:
- Refractors: Excellent for deep-sky objects. Example: William Optics Zenithstar 73.
- Reflectors: Best for faint galaxies. Example: Sky-Watcher 8” Dobsonian.
3. Tripods and Mounts
- Sturdy Tripod: Reduces camera shake. Example: Manfrotto 190X.
- Equatorial Mounts: Tracks stars’ movement. Example: Sky-Watcher Star Adventurer 2i.
4. Other Accessories
- Intervalometer: Enables long-exposure shots.
- Filters: Light pollution filters enhance image clarity. Example: Optolong L-Pro.
- Guide Scope & Camera: Improves tracking accuracy for long exposures.
How to Capture Astrophotography Images
1. Camera Settings for Night Sky Photography
- Mode: Manual (M) mode
- ISO: Start at 1600–3200
- Aperture: Widest setting (f/2.8 or lower)
- Shutter Speed: 10–30 seconds (adjust based on star trails)
- White Balance: Daylight or custom (3500K–4500K)
2. Focusing on Stars
- Set your lens to manual focus
- Use Live View and zoom in on a bright star
- Adjust focus until the star appears sharp
3. Taking Long Exposure Shots
- Use a remote shutter release to avoid vibrations
- Experiment with exposure stacking to reduce noise
Post-Processing Tips
Astrophotography images often require post-processing to bring out details.
- Basic Adjustments: Use Adobe Lightroom or Snapseed to tweak contrast and brightness.
- Stacking: Software like DeepSkyStacker reduces noise and enhances clarity.
- Advanced Editing: Photoshop or PixInsight helps bring out faint celestial details.
Beginner-Friendly Astrophotography Targets
1. The Moon
- Best Time: First or third quarter (not full Moon)
- Recommended Settings: 1/250s, ISO 100, f/8
- Example: A DSLR with a 300mm lens can capture craters in high detail.
2. Orion Nebula (M42)
- Best Time: Winter months
- Recommended Settings: 15s exposure, ISO 3200, tracked mount
- Example: A 200mm telephoto lens can reveal the nebula’s glowing gas clouds.
3. Andromeda Galaxy (M31)
- Best Time: Fall and winter
- Recommended Settings: 30s exposure, ISO 3200, wide-angle lens
- Example: Captured best with a DSLR and a 50mm lens on a star tracker.
Common Challenges and How to Overcome Them
- Light Pollution: Use a light pollution filter or travel to dark-sky locations.
- Blurry Images: Ensure your tripod is stable and use a timer or remote shutter.
- Star Trails: Use the 500 Rule (500 / focal length = max shutter speed in seconds).
- Focusing Issues: Use a Bahtinov mask for precise focusing.
Final Thoughts
Astrophotography is a rewarding hobby that blends science and art. With the right equipment, techniques, and patience, you can capture breathtaking images of the cosmos. Start with simple targets like the Moon and move on to deep-sky objects as you gain experience.
Next Steps
- Try photographing the Moon tonight using your smartphone or DSLR.
- Experiment with different camera settings and compare results.
- Consider investing in a star tracker to improve your deep-sky images.