Discover the art of astrophotography and master the techniques to achieve breathtakingly sharp images of the cosmos. This comprehensive guide provides ten essential steps to elevate your astrophotography game and capture the celestial wonders with stunning clarity.
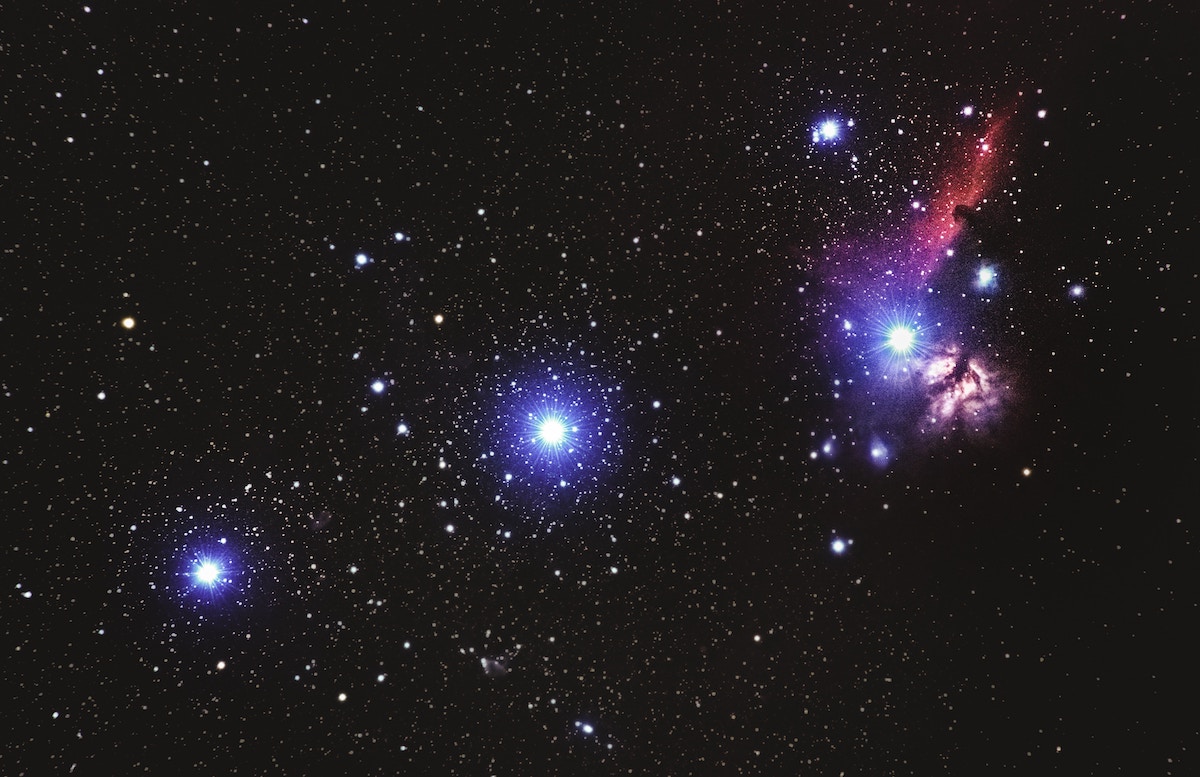
Astrophotography allows us to witness the majesty of the universe like never before. From capturing distant galaxies to the mesmerizing dance of stars, it enables photographers to freeze moments that transcend both space and time. However, mastering astrophotography is no easy task, especially when it comes to achieving sharpness in your images. Blurry stars and lack of focus can quickly spoil the magic of capturing celestial objects. In this guide, we will explore the techniques and tools that can help you focus sharply in astrophotography and unlock the true beauty of the cosmos.
Understanding the Challenge: Why Focus Matters in Astrophotography
Achieving sharp focus in astrophotography is crucial because the subjects we aim to capture are incredibly distant. Unlike typical photography, where we can rely on auto-focus or manual adjustments for near subjects, astrophotography demands precision in focusing on distant celestial objects. These objects are not only far away, but they also emit very faint light, making the process even more challenging.
To capture breathtaking images of the night sky, you need to understand the intricacies of focusing techniques that can help you bring distant stars, galaxies, and nebulae into razor-sharp clarity.
1. Choose the Right Gear: Quality Optics Matters
The foundation of achieving sharpness in astrophotography starts with the right gear. While you can experiment with various camera bodies, the quality of your optics plays a significant role in capturing sharp images of the cosmos. Invest in a high-quality telescope or a fast lens designed for astrophotography. These optics ensure that the light reaching your camera’s sensor is as clear and accurate as possible.
2. Prepare for the Night: Know Your Location and Object
Astrophotography is all about planning and patience. Before you head out for a night of stargazing and photography, familiarize yourself with the celestial objects you want to capture. Various apps and websites can provide you with real-time information about the position of stars, planets, and other astronomical wonders in the night sky.
Moreover, choose a location away from light pollution to minimize unwanted artifacts in your images. Planning your shoot in advance will save you time and frustration, increasing your chances of capturing sharp astrophotographs.
3. Master Manual Focus: A Skill Worth Developing
In the realm of astrophotography, relying on auto-focus is seldom an option. The dim light from distant stars may confuse your camera’s auto-focus system, leading to subpar results. Instead, master the art of manual focus. Practice focusing during the day on distant objects to develop a feel for adjusting the focus ring precisely.
During your astrophotography session, use live view mode to magnify stars or planets on your camera’s screen. Adjust the focus ring until the object appears as small and sharp as possible. Be patient and make incremental adjustments until you achieve the desired focus.
4. Utilize Live View and Zoom Features
Modern DSLR and mirrorless cameras come equipped with powerful live view features. Utilize this function to your advantage when focusing on celestial objects. As mentioned earlier, zoom in on the stars or planets in live view mode to fine-tune your focus. The live view will give you a clear preview of how sharp your image will be, helping you make precise adjustments.
5. Embrace Manual Exposure: Take Control of Your Settings
In astrophotography, manual exposure settings are your best friend. While auto-exposure might work for regular photography, it often falls short when it comes to capturing the night sky’s subtle details. Set your camera to manual mode, and take control of the shutter speed, aperture, and ISO settings.
Keep the shutter speed relatively short to avoid star trails, especially when using a telephoto lens. The aperture should be wide enough to gather as much light as possible while maintaining acceptable levels of sharpness across the frame. The ISO setting will depend on your camera’s low-light capabilities, but be cautious not to push it too high, as it can introduce unwanted noise.
6. Polar Alignment for Long Exposures
If you plan to take long-exposure shots, polar alignment is a must. As the Earth rotates, long exposures without proper alignment can result in star trails, blurring your otherwise sharp images. Equatorial mounts, also known as star trackers, can compensate for the Earth’s rotation, allowing you to take longer exposures without sacrificing sharpness.
7. Mastering the Bahtinov Mask
The Bahtinov mask is a simple yet powerful tool used by astrophotographers to achieve precise focus. This mask features a series of diffraction spikes that form around a star when it’s out of focus. By adjusting the focus until the spikes converge into a precise X-pattern, you can ensure that your subject is in sharp focus.
Place the Bahtinov mask over your telescope or lens, and adjust the focus until the pattern becomes symmetrical. The Bahtinov mask eliminates the guesswork from manual focusing and is a valuable addition to your astrophotography toolkit.
8. Use Backyard Software and Astrophotography Apps
The digital age has blessed us with a wide array of astrophotography software and apps that can enhance our focus and overall image quality. Backyard astrophotography software, for example, allows you to control your camera remotely, making it easier to fine-tune focus without touching the setup.
Additionally, several apps offer augmented reality sky maps and celestial object tracking. These apps can help you identify and locate specific targets in the night sky, making your planning and focus adjustments more efficient.
9. Minimize Vibration and Disturbance
Any slight vibration or disturbance during your astrophotography session can lead to blurred images. To minimize vibrations, use a sturdy tripod or mount and avoid touching the setup unnecessarily. If you’re using a DSLR camera, engage the mirror lock-up function to reduce internal vibrations before the exposure.
Be mindful of your surroundings, and if possible, shield your setup from gusts of wind or other potential sources of disturbance. Every effort you make to keep your equipment stable will contribute to sharper results.
10. Embrace Post-Processing: Enhance Sharpness with Care
Post-processing is the final step in perfecting your astrophotographs. While it can enhance sharpness and reveal stunning details, it should be approached with care. Avoid over-processing, as it can introduce artifacts and make your images look unrealistic.
Use specialized software, such as Adobe Photoshop or Lightroom, to fine-tune the sharpness and contrast of your images. Be subtle with your adjustments, focusing on enhancing the natural beauty of the cosmos rather than creating a digitally altered scene.
Conclusion
Astrophotography is an awe-inspiring genre that rewards patience, skill, and a deep connection with the cosmos. To achieve sharpness in your astrophotographs, invest in quality gear, master manual focus, and utilize the power of live view and focusing tools like the Bahtinov mask. Polar alignment and avoiding vibrations are essential for long-exposure shots, while post-processing can help enhance sharpness with care.
So, head out into the night, armed with the knowledge from this guide, and unlock the secrets of the universe through your lens. By following these ten steps, you will be on your way to capturing stunning astrophotographs that reveal the beauty and wonder of the cosmos in all its glory. Happy stargazing!