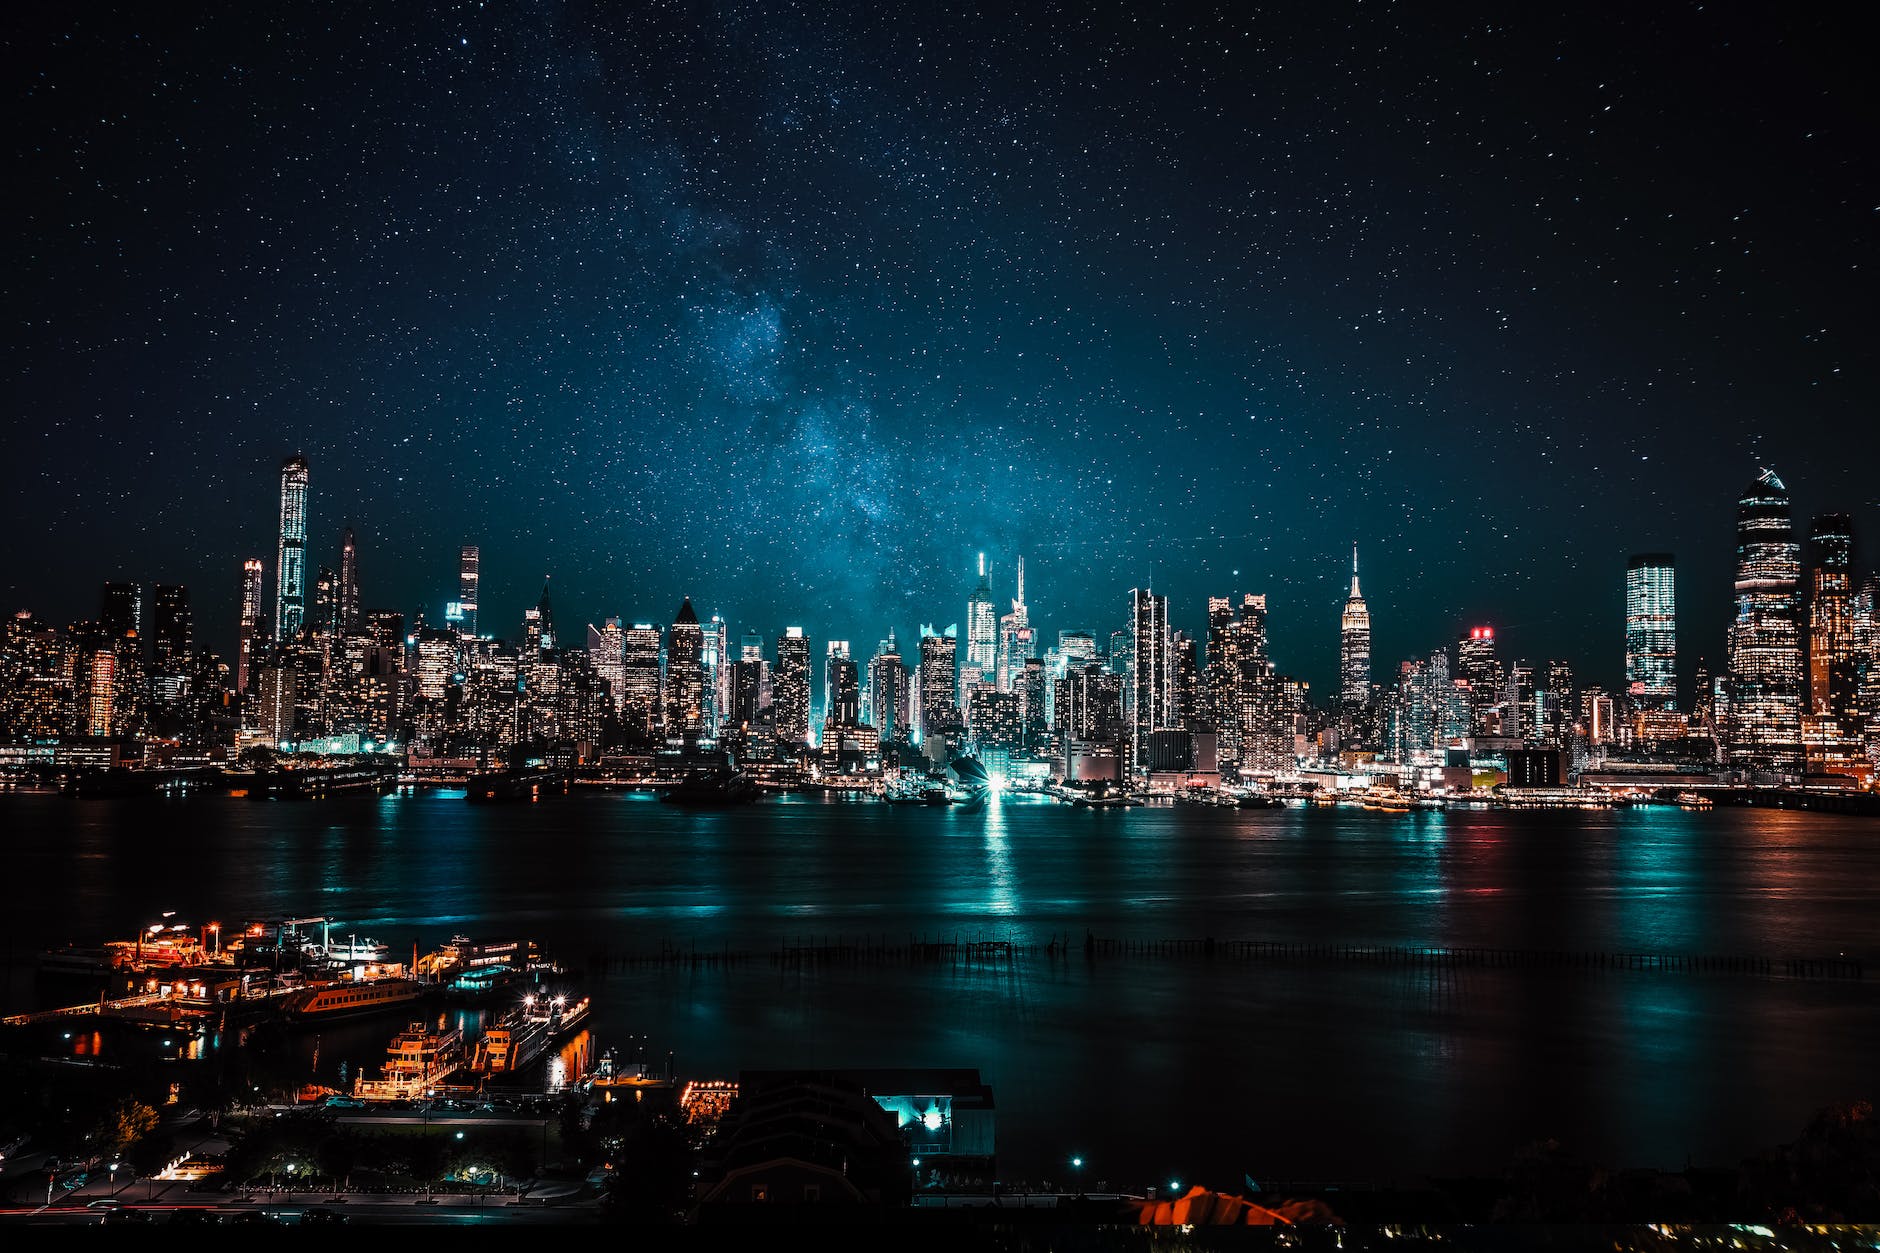
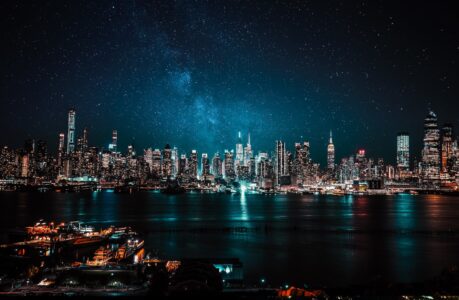
Capture the beauty of the night sky by addressing light pollution gradients in your astrophotography.
As the sun dips below the horizon and the world plunges into darkness, the cosmos above come alive with a dazzling display of stars, planets, and celestial wonders. For astrophotographers, this nightly spectacle is an irresistible canvas waiting to be captured. However, there’s a nemesis lurking in the shadows – light pollution gradients. These insidious adversaries can turn your celestial masterpiece into a noisy, murky mess. But fear not, for in this article, we will delve into the intricacies of light pollution gradients and equip you with eight invaluable tips for correcting them in post-processing.
Understanding Light Pollution Gradients
Before we dive into the techniques for tackling light pollution gradients in post-processing, it’s essential to grasp the nature and impact of this phenomenon. Light pollution gradients occur when artificial light sources, such as streetlights, urban areas, or nearby buildings, cast their luminance into the night sky. This unwanted light intrusion manifests as a gradual change in brightness across your astrophotograph.
The Consequences of Light Pollution Gradients
- Reduced Contrast: Light pollution gradients can significantly reduce the contrast of your astro-images. The dimmer parts of your photograph may be overwhelmed by the bright urban glow, making faint stars and distant nebulae nearly invisible.
- Color Shifts: Unwanted light can introduce color shifts in your images. The dominant colors in the light pollution (often orange or yellow) can taint the colors of the stars and deep-sky objects in your frame.
- Image Noise: To combat the light pollution’s effects, photographers may increase their camera’s sensitivity (ISO setting). This can lead to increased image noise, further degrading the overall quality of the photograph.
- Limited Exposure Time: In areas with severe light pollution, you might find it challenging to achieve long exposures without overexposing the image. This limitation can hamper your ability to capture fine details.
Now that we understand the problem at hand, let’s explore how to correct light pollution gradients in post-processing.
Correcting Light Pollution Gradients in Post-Processing
1. Capture and Apply Calibration Frames
Calibration frames, including dark frames, flat frames, and bias frames, are essential tools in your astrophotography arsenal. These frames help mitigate the impact of light pollution gradients during post-processing.
Dark Frames: These frames record the noise generated by your camera’s sensor during a long exposure. By subtracting dark frames from your astro-images, you can reduce image noise caused by light pollution.
Flat Frames: Flat frames capture the uneven illumination of your optical system. They are indispensable for correcting light pollution gradients and vignetting in your images.
Bias Frames: Bias frames record the inherent electronic noise in your camera’s sensor. They are useful for removing electronic noise from your astrophotos.
2. Stacking Multiple Exposures
Stacking multiple exposures is a powerful technique for combating light pollution gradients. By combining several images of the same target, you can reduce noise and enhance the signal-to-noise ratio.
- Image Stacking Software: Use specialized software like DeepSkyStacker, Sequator, or PixInsight to align and stack your images. These programs can automatically correct for minor light pollution gradients.
- Integration and Calibration: During stacking, integrate your calibration frames (dark, flat, and bias frames) to ensure a comprehensive correction of light pollution effects.
3. Gradient Removal Tools
Several post-processing software tools offer gradient removal features to address light pollution gradients effectively. Adobe Photoshop, PixInsight, and Lightroom are popular choices.
- Gradient Map in Photoshop: Use the gradient map adjustment layer to create a custom gradient mask. Apply this mask to your image to neutralize light pollution gradients selectively.
- Dynamic Background Extraction in PixInsight: PixInsight’s dynamic background extraction tool can efficiently remove gradients from your astrophotos. This tool is particularly effective for complex light pollution scenarios.
4. Selective Color Correction
To counteract the color shifts caused by light pollution, employ selective color correction techniques:
- Color Balance Adjustments: In post-processing software like Adobe Lightroom or Photoshop, adjust the color balance to counteract the dominant colors of light pollution.
- Hue/Saturation Adjustments: Fine-tune specific color channels to restore the natural hues of stars and celestial objects.
5. Local Contrast Enhancement
To restore contrast in your astrophotos:
- Curves Adjustment: Use curves adjustments to selectively enhance the contrast of dim areas without affecting the brighter parts of your image.
- Masking: Employ masking techniques to target specific regions of your photo for contrast enhancement. This ensures that you don’t inadvertently amplify noise in well-exposed areas.
6. Noise Reduction
Effective noise reduction is crucial when dealing with light pollution gradients:
- Use Dedicated Noise Reduction Software: Tools like Topaz DeNoise AI and Nik Collection’s Dfine are highly effective for reducing noise while preserving image details.
- Layer-Based Noise Reduction: Apply noise reduction selectively to different layers of your image. This allows you to control the level of noise reduction in different parts of your photograph.
7. Artificial Star Creation
In cases where light pollution has obscured faint stars, consider adding artificial stars to your image:
- Star Generating Software: Use specialized software like StarSpikes Pro to add realistic-looking stars to your image. Carefully position these stars to match the natural star pattern.
- Blend Real and Artificial Stars: Blend the artificial stars with the real stars in your astrophotograph for a more convincing result.
8. Local Adjustments
Don’t shy away from making localized adjustments to your image:
- Dodging and Burning: Use dodging (brightening) and burning (darkening) techniques to selectively enhance or reduce the brightness of specific areas, further mitigating light pollution effects.
- Manual Cloning and Healing: Manually clone or heal areas affected by light pollution gradients to ensure a seamless and natural-looking final image.
Conclusion
Astrophotography is a rewarding pursuit that allows us to capture the beauty of the universe. However, light pollution gradients can pose significant challenges. Armed with the knowledge of these issues and the post-processing techniques discussed in this article, you can confidently address and correct light pollution gradients to unveil the splendor of the night sky in your astrophotographs.
Remember that practice and experimentation are key to mastering these techniques. Each astrophotograph is unique, and adjusting your post-processing workflow to suit the specific characteristics of your images will yield the best results. So, go out there, capture the cosmos, and let your post-processing skills bring out the hidden wonders of the universe.
Capture the beauty of the night sky by addressing light pollution gradients in your astrophotography. Light pollution gradients can significantly reduce the contrast of your astro-images. Calibration frames, including dark frames, flat frames, and bias frames, are essential tools in your astrophotography arsenal. Stacking multiple exposures is a powerful technique for combating light pollution gradients. Several post-processing software tools offer gradient removal features to address light pollution gradients effectively. To counteract the color shifts caused by light pollution, employ selective color correction techniques. To restore contrast in your astrophotos, use curves adjustments to selectively enhance the contrast of dim areas without affecting the brighter parts of your image. Effective noise reduction is crucial when dealing with light pollution gradients. In cases where light pollution has obscured faint stars, consider adding artificial stars to your image. Don’t shy away from making localized adjustments to your image. Armed with the knowledge of these issues and the post-processing techniques discussed in this article, you can confidently address and correct light pollution gradients to unveil the splendor of the night sky in your astrophotographs.