Achieve Perfect Polar Alignment and Capture Stellar Images
Introduction
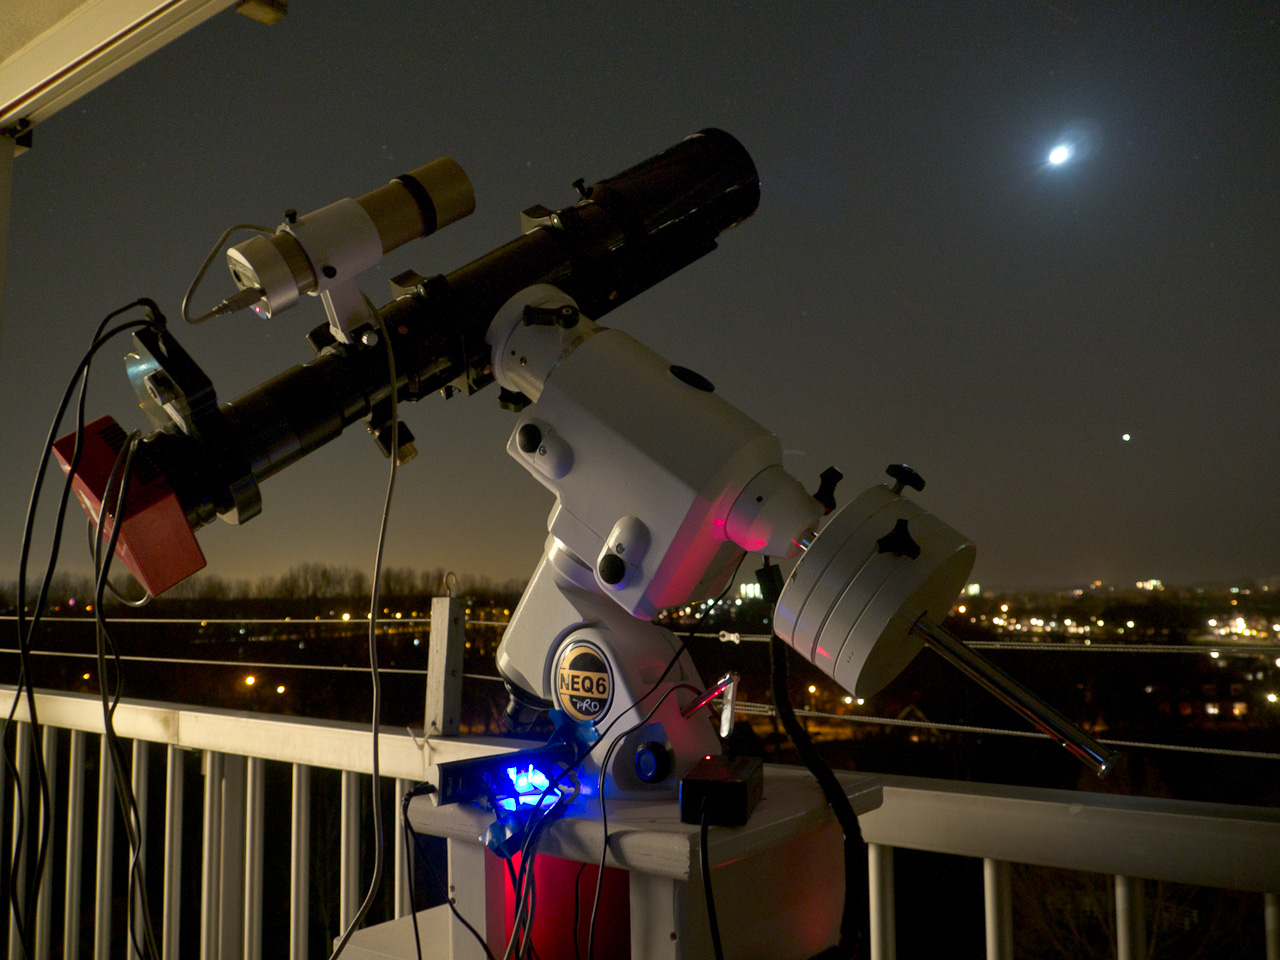
Achieving accurate polar alignment is crucial for astrophotographers and astronomers using equatorial mounts. A well-aligned mount allows for precise tracking of celestial objects, resulting in sharper and longer exposures, and ultimately, breathtaking images of the cosmos. In this comprehensive guide, we will walk you through the step-by-step process of polar alignment, ensuring that you have the knowledge and skills to achieve optimal alignment for your equatorial mount.
1. Understanding Polar Alignment
Polar alignment refers to aligning your equatorial mount’s polar axis parallel to the Earth’s axis of rotation. This alignment enables your mount to track celestial objects as they move across the night sky, compensating for the Earth’s rotation. By achieving accurate polar alignment, you eliminate or minimize the effects of field rotation, allowing for long-exposure imaging and improved image quality.
2. Preparing for Polar Alignment
Before diving into the polar alignment process, it’s essential to gather the necessary equipment and choose the right location. Here’s what you’ll need:
Equipment Checklist:
- Equatorial mount
- Telescope or camera attached to the mount
- Polar axis finder scope or polar alignment app
- Tripod
- Compass
- Timekeeping device (e.g., smartphone or watch)
- Red flashlight or headlamp (for preserving night vision)
Choosing the Right Location:
Select a location away from artificial lights and obstructions that block the view of the celestial pole. Ideally, find an open area where you have a clear view of the northern or southern horizon, depending on your hemisphere.
3. Rough Alignment
The rough alignment process allows you to align your mount roughly with the celestial pole before proceeding to fine adjustments. Follow these steps to get started:
- Set up your tripod on a stable surface and make sure it is level.
- Attach your equatorial mount securely to the tripod.
- Point the polar axis of your mount roughly toward the celestial pole. In the northern hemisphere, this is Polaris (the North Star), while in the southern hemisphere, it is Sigma Octantis or the Southern Cross.
- Use a compass to determine the approximate direction of the celestial pole. Adjust the mount’s orientation accordingly.
4. Aligning the Polar Scope
Many equatorial mounts come with a built-in polar scope or a reticle that aids in precise alignment. Here’s how to align your polar scope accurately:
- Choose a bright star near the celestial pole to use as your reference star.
- Look up the star’s Right Ascension (RA) and Declination (Dec) coordinates using a star chart or a smartphone app.
- Adjust your mount’s altitude and azimuth controls to position the reticle’s crosshairs over the star’s coordinates.
- Once the star is centered, lock the altitude and azimuth adjustments.
5. Performing the Drift Alignment Method
The drift alignment method is a popular technique used by astrophotographers to achieve highly accurate polar alignment. It involves precise adjustments to counteract the apparent drift of stars due to misalignment. Follow these steps to perform the drift alignment method:
- Choose a bright star near the celestial equator but not too close to the celestial pole.
- Center the star in your telescope’s eyepiece or the field of view of your camera.
- Enable your mount’s sidereal tracking rate to start tracking the star.
- Observe the star’s movement for about five minutes.
- If the star drifts in an arc, adjust the altitude and azimuth controls to minimize the drift.
- Repeat the process until you achieve minimal or no drift, indicating accurate polar alignment.
6. Using Polar Alignment Apps
In the digital age, several smartphone apps and software tools are available to assist with polar alignment. These apps utilize your device’s sensors and provide real-time feedback to aid in the alignment process. Here are a few popular polar alignment apps:
- PolarFinder: This app uses your smartphone’s camera to display an overlay of the celestial pole, making it easy to align your mount.
- PHD2 Polar Drift Alignment: Primarily used for autoguiding purposes, this software offers a drift alignment tool for precise polar alignment.
- SkySafari: Besides providing a comprehensive sky map, SkySafari includes a polar alignment feature that guides you through the alignment process.
7. Verifying and Refining Alignment
Once you have completed the initial alignment, it is essential to verify and refine your polar alignment. Here are a few additional steps to fine-tune your alignment:
- Perform a star test: Choose a star in your telescope’s field of view and observe its movement over a specific duration, such as 10 minutes. If the star remains centered, your alignment is accurate.
- Make slight adjustments: If necessary, use the mount’s altitude and azimuth controls to make small corrections based on the star’s drift.
- Take test exposures: Capture a few test images using longer exposures and evaluate if there is any trailing or misalignment. Make minor adjustments as needed.
8. Polar Alignment Tips and Tricks
Consider the following tips and tricks to enhance your polar alignment process:
- Practice patience: Polar alignment can be a time-consuming process, especially when striving for precise alignment. Take your time, be patient, and remember that practice makes perfect.
- Use a polar alignment routine: Develop a routine that suits your needs and style of astrophotography. By following the same steps consistently, you will become more efficient and confident in your polar alignment skills.
- Employ a guiding system: To further improve your tracking accuracy, consider using an autoguiding system. Autoguiders use a secondary camera to monitor star movements and make real-time adjustments to your mount’s tracking.
- Consider a polar alignment tool: If you find the drift alignment method challenging, you may invest in specialized polar alignment tools like PoleMaster, which provides a faster and more user-friendly alignment process.
In Conclusion
Achieving precise polar alignment is essential for astrophotography and astronomy endeavors. By mastering the techniques outlined in this guide, you can ensure your equatorial mount tracks celestial objects accurately, resulting in stunning images of the night sky. Remember, polar alignment is a skill that improves with practice, so don’t be discouraged if it takes time to perfect. Happy stargazing and capturing the wonders of the universe!
Note: The process of polar alignment may vary depending on the type and model of your equatorial mount. Always consult your equipment’s user manual for specific instructions and recommendations.