Discover how to master the art of magnification with a Barlow lens and explore the cosmos like never before!
Are you a stargazer, astronomy enthusiast, or telescope owner eager to delve deeper into the wonders of the universe? If so, you’ve probably considered enhancing the magnification capabilities of your telescope to unveil celestial treasures hidden in the vastness of space. A Barlow lens is a powerful tool that can significantly boost your telescope’s magnification prowess, allowing you to observe distant galaxies, mesmerizing nebulae, and awe-inspiring planets in exquisite detail. In this comprehensive guide, we’ll walk you through everything you need to know about using a Barlow lens effectively, from understanding the science behind it to mastering its application in different observing scenarios.
Unraveling the Magic of a Barlow Lens
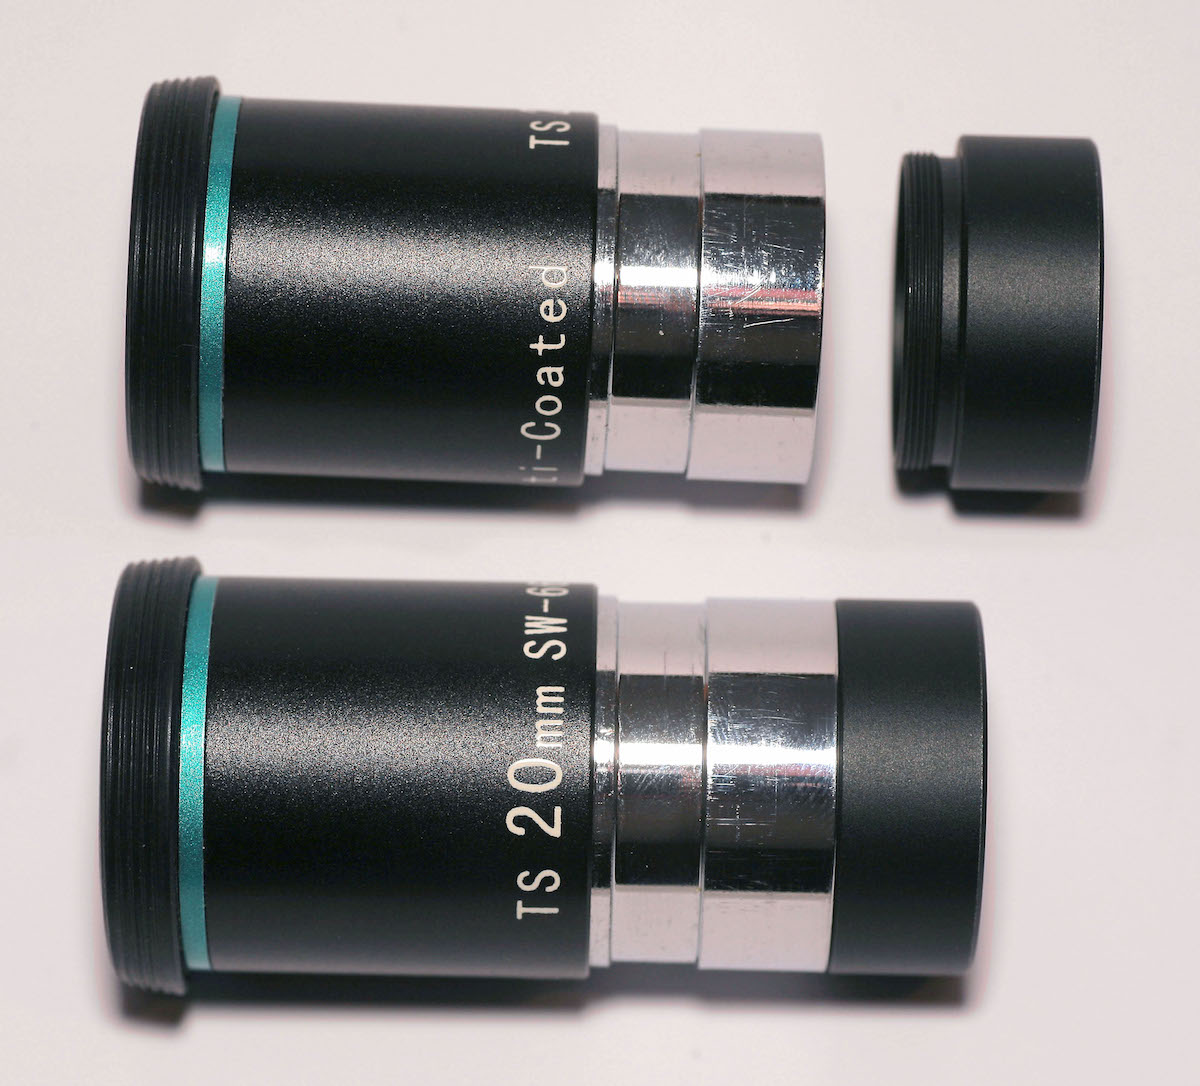
Before we delve into the intricacies of using a Barlow lens, let’s unravel the magic behind this optical wonder. A Barlow lens is essentially a diverging lens that, when placed between your telescope’s eyepiece and the focuser, increases the effective focal length of the telescope. As a result, it magnifies the image projected by the telescope, effectively bringing distant objects closer to your eye.
The design of a Barlow lens may vary, but the most common type is the “achromatic” Barlow, which employs multiple lens elements to minimize chromatic aberration and maintain image quality. With the right Barlow lens and proper usage, you can double, triple, or even quadruple the magnification of your telescope, elevating your astronomical adventures to new heights.
Selecting the Perfect Barlow Lens
Choosing the right Barlow lens is paramount to achieving optimal magnification and image quality. When shopping for a Barlow, consider factors such as its magnification factor, optical design, and build quality. Here’s what you need to know to make an informed decision:
1. Magnification Factor: Enhancing the Power of Your Telescope
The magnification factor of a Barlow lens determines how much it will multiply the focal length of your telescope. Common magnification factors include 2x, 3x, and 5x. For instance, a 2x Barlow lens will double the effective focal length of your telescope, while a 5x Barlow will increase it fivefold.
When choosing a Barlow lens, remember that higher magnification isn’t always better. Excessive magnification can lead to dimmer images, reduced field of view, and increased susceptibility to atmospheric distortions. It’s essential to strike a balance between magnification and image quality to optimize your observing experience.
2. Optical Design: Achromatic vs. Apochromatic
As mentioned earlier, achromatic Barlow lenses use multiple lens elements to reduce chromatic aberration. Chromatic aberration can cause color fringing around celestial objects, diminishing the sharpness and clarity of your observations. While achromatic Barlows are more affordable, apochromatic (apo) Barlows offer superior color correction and image fidelity. Apo Barlows are a top choice for serious astronomers and astrophotographers who demand uncompromising image quality.
3. Build Quality: The Path to Durability and Stability
Investing in a well-built Barlow lens ensures longevity, stability, and precision in your observations. Look for lenses constructed from high-quality materials, featuring precise machining and a secure grip. A sturdy and well-designed Barlow will hold your eyepiece firmly in place and minimize the risk of wobbling or misalignment during use.
Achieving Stellar Results: How to Use a Barlow Lens Effectively
Congratulations on acquiring a Barlow lens! Now it’s time to learn the art of using it effectively to unlock the full potential of your telescope’s magnification capabilities. Follow these steps for optimal results:
1. Preparing Your Telescope
Before attaching the Barlow lens, ensure that your telescope is clean and collimated. Any dirt or misalignment in the optical path can compromise your observations, even with a high-quality Barlow. Clean the telescope’s objective lens or primary mirror, and collimate the optics according to your telescope’s specifications.
2. Selecting the Right Eyepiece
The choice of eyepiece plays a crucial role in determining the final magnification and field of view. Start by selecting an eyepiece with a comfortable focal length that provides a suitable field of view for your desired observations. Remember that the magnification achieved with a Barlow lens is calculated by dividing the telescope’s focal length by the eyepiece’s focal length. For instance, a 2x Barlow with a 10mm eyepiece will result in 2x magnification, providing the effect of a 5mm eyepiece (10mm / 2).
3. Inserting the Barlow Lens
Gently insert the Barlow lens into the telescope’s focuser, making sure it fits securely. Avoid using excessive force, as this may damage the Barlow or the telescope’s accessories. Once in place, the Barlow lens will act as an intermediary, increasing the effective focal length between your telescope’s objective lens or primary mirror and the eyepiece.
4. Attaching the Eyepiece
With the Barlow lens in place, carefully insert the eyepiece into the Barlow’s eyepiece holder. Ensure a snug fit to prevent any wobbling during observations. Once attached, the eyepiece will magnify the image formed by the telescope, combining with the Barlow’s magnification factor to create a more powerful view.
5. Focusing the Telescope
With the Barlow lens and eyepiece set up, it’s time to focus the telescope for optimal image sharpness. Make small adjustments to the telescope’s focuser, either inward or outward, until you achieve a crisp and clear image of the celestial object you wish to observe. Focusing can be delicate, especially at high magnifications, so take your time and make subtle changes until you find the sweet spot.
6. Tracking and Observing Celestial Objects
Once your telescope is properly focused, you’re ready to embark on your cosmic journey. Use your telescope’s tracking system (if available) to keep celestial objects in your field of view as they move across the night sky. For telescopes without tracking, manually adjust the telescope’s position to follow the object’s path.
7. Experimenting with Magnification Levels
The beauty of a Barlow lens lies in its versatility. Experiment with different eyepieces and Barlow combinations to explore various magnification levels and observe objects with varying levels of detail. However, be mindful of the atmospheric conditions and the limits of your telescope; higher magnifications may not always yield better results, especially on nights with poor seeing.
Mastering Barlow Lens Techniques for Different Observing Scenarios
The potential applications of a Barlow lens extend far beyond simply increasing magnification. Here are some advanced techniques to elevate your observing experience in specific scenarios:
1. Astrophotography with a Barlow Lens
Astrophotography enthusiasts can leverage the power of a Barlow lens to capture stunning images of the cosmos. When using a Barlow for astrophotography, it’s crucial to use high-quality cameras and adaptors that can maintain precise alignment between the Barlow, eyepiece, and camera sensor. Additionally, using an apochromatic Barlow lens can significantly improve color correction in astrophotography, reducing the need for additional post-processing.
To get started with astrophotography using a Barlow lens, follow these steps:
- Choose the Right Camera: Select a dedicated astronomy camera or a DSLR/mirrorless camera with a suitable adapter. Look for cameras with a large sensor size and low noise performance for optimal results.
- Align the Setup: Ensure that the camera’s sensor is aligned precisely with the focal plane of the Barlow lens and the telescope’s optics. This alignment is critical to avoid issues like image tilt or poor focus.
- Capture Images: Take multiple images of the celestial object using short exposure times. Since high magnifications can amplify atmospheric distortions, capturing short exposures and stacking them later can improve overall image quality.
- Post-Processing: After capturing the images, use specialized astrophotography software to align and stack the frames, reducing noise and enhancing details. With the right processing techniques, you can unveil breathtaking images of planets, lunar features, and even distant galaxies.
2. Lunar and Planetary Observations
A Barlow lens is a perfect tool for lunar and planetary observations, allowing you to scrutinize the intricate details of the Moon’s surface or witness the captivating features of planets in our solar system.
- Choose the Right Time: For the best lunar observations, aim to observe the Moon during its crescent or quarter phases. During these phases, shadows cast by mountains and craters create fascinating three-dimensional views.
- Observe the Terminator: The line dividing the illuminated and dark sides of the Moon is known as the “terminator.” Observing along the terminator can reveal stunning contrasts and enhanced surface details.
- Identify Lunar Features: Familiarize yourself with prominent lunar features, such as craters, maria (dark basalt plains), and mountain ranges. Look for the distinct “Sea of Tranquility” and “Tycho” crater, among others.
- Planet Spotting: Identify the positions of planets in the night sky using astronomy apps or websites. When observing planets, be patient, as their features may take time to become visible due to their rotation.
- Jupiter’s Moons: With a high-quality Barlow lens, you can observe the four largest moons of Jupiter—Io, Europa, Ganymede, and Callisto. Watching their positions change over time can be a fascinating experience.
3. Observing Deep-Sky Objects
While Barlow lenses are often associated with planetary observations, they can also be useful for certain deep-sky objects, especially for telescopes with longer focal lengths.
- Nebulae and Star Clusters: Use a Barlow lens to zoom in on distant nebulae, such as the Orion Nebula (M42) or the Ring Nebula (M57). Barlows can also help reveal individual stars in dense star clusters.
- Galaxies: Some larger galaxies, like the Andromeda Galaxy (M31) or the Whirlpool Galaxy (M51), may benefit from a Barlow lens when seeking to observe specific details within their structures.
- Supernovae: If a supernova event occurs within a galaxy, a Barlow lens can assist in observing the supernova’s position and changes in brightness over time.
- Dark Skies: For deep-sky observations, travel to a location away from light pollution to improve visibility and increase the chances of spotting faint objects.
4. Barlow Lens with Other Accessories
To further enhance your observing experience, consider combining the Barlow lens with other accessories commonly used by astronomers:
- Filters: Utilize filters to enhance specific details on planets or reduce light pollution when observing deep-sky objects. Planetary filters can emphasize cloud bands on Jupiter or enhance the contrast of Martian features.
- Collimators: Collimating your telescope becomes even more critical when using a Barlow lens. A well-collimated telescope ensures optimal image quality and reduces aberrations.
- Focal Reducers: While Barlow lenses increase magnification, focal reducers do the opposite—they decrease the effective focal length of your telescope. Combining a Barlow with a focal reducer can provide more versatility in your observing sessions.
- Mount Stability: As you increase magnification, any vibrations or instability in your telescope mount become more apparent. Invest in a sturdy mount and use vibration suppression pads if necessary to minimize disturbances during observations.
5. Safety Precautions
Remember that observing the Sun requires specialized solar filters, and a Barlow lens should never be used for solar observations without the appropriate protective filters. Observing the Sun without proper solar filters can cause permanent eye damage or even blindness.
Troubleshooting Common Barlow Lens Issues
Despite its many advantages, using a Barlow lens may occasionally present some challenges. Here are some common issues and tips on how to address them:
- Barlow Lens Wobble: If you notice a wobbling or misalignment in the Barlow lens or eyepiece, try using an extension tube or adjusting the eyepiece holder’s set screws to ensure a snug fit.
- Focusing Difficulties: Achieving focus at high magnifications can be challenging. Experiment with minor adjustments to the telescope’s focuser, and be patient while you find the optimal focus point.
- Vignetting: Some Barlow lenses, especially those with a small clear aperture, may cause vignetting, darkening the edges of the image. To reduce vignetting, opt for Barlow lenses with larger clear apertures.
- Image Distortions: If you encounter image distortions or astigmatism, check the collimation of your telescope and Barlow lens. Misalignment can cause aberrations, affecting image quality.
Conclusion
Using a Barlow lens for magnification opens up a world of wonders in the night sky, empowering you to explore the realms of planets, lunar landscapes, and deep-space objects like never before. By choosing the right Barlow lens, understanding its application in various observing scenarios, and employing the right techniques, you can elevate your astronomy journey and unveil the mysteries of the universe with breathtaking clarity.
Remember that patience and practice are key to mastering the art of using a Barlow lens effectively. So, embrace the cosmos, equip yourself with knowledge, and let your telescope and Barlow lens be your gateway to the wonders of space. Happy observing!