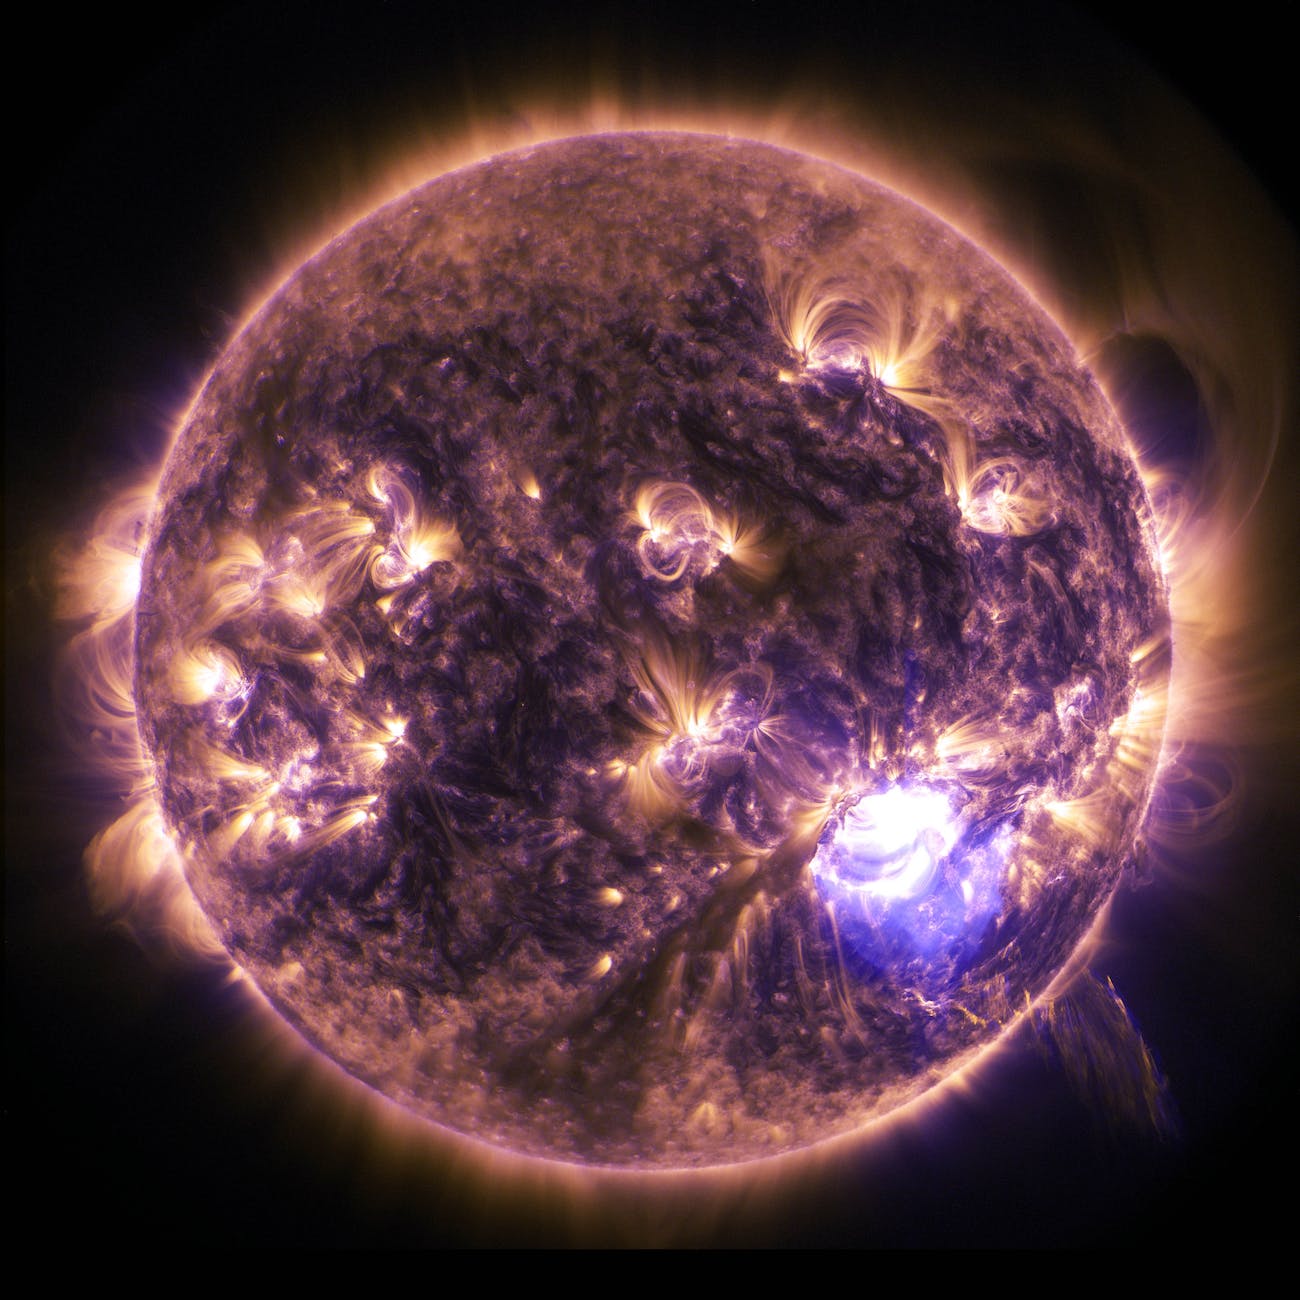
The sun, our nearest star, is a captivating celestial object that offers breathtaking views. From solar eclipses to sunspots, there are various events that make observing the sun an exciting endeavor. However, looking directly at the sun can cause severe eye damage. To safely observe the sun, you can create your own solar filter at home. In this guide, we will walk you through the process of making a solar filter using readily available materials.
Materials You Will Need
Before you begin, gather the following materials:
- A sheet of Baader AstroSolar or Thousand Oaks Optical solar filter film
- Cardboard or poster board
- Scissors
- Ruler
- Pencil
- Tape or glue
- Two rubber bands
- A camera lens cap (optional)
- A tripod (optional)
Step 1: Measure and Cut the Solar Filter Film
Start by measuring and cutting the solar filter film. Place the cardboard or poster board on a flat surface and use a ruler to draw a square or rectangle, depending on the size of your desired solar filter. Ensure that the dimensions are slightly larger than your telescope or binoculars.
Next, lay the solar filter film over the cardboard and align it with the drawn shape. Use scissors to cut the solar filter film along the marked lines. Take your time and make clean, precise cuts to ensure the filter fits perfectly.
Step 2: Secure the Solar Filter Film to the Cardboard
Once you have cut the solar filter film, it’s time to secure it to the cardboard or poster board. Apply a small amount of tape or glue along the edges of the cardboard, and carefully place the solar filter film on top. Ensure that the film is taut and free from wrinkles or bubbles.
Press down gently on the solar filter film to ensure it adheres securely to the cardboard. Take extra caution not to damage or puncture the film during this process. Allow the glue to dry completely if you opted for glue instead of tape.
Step 3: Create a Housing for the Solar Filter
To protect the solar filter and enhance its functionality, create a housing using the cardboard or poster board. Start by measuring the dimensions of the solar filter and cutting out another square or rectangle from the cardboard.
Place the solar filter on the newly cut cardboard piece, ensuring it aligns perfectly. Use tape or glue to attach the edges of the two cardboard pieces together, leaving one side open for the solar filter to slide in and out easily.
Step 4: Attach the Solar Filter Housing to Your Telescope or Binoculars
Now that you have the solar filter and its housing ready, it’s time to attach it to your telescope or binoculars. Carefully slide the solar filter into the open side of the housing. The fit should be snug, but not too tight to avoid damaging the solar filter.
To secure the solar filter housing to your equipment, use rubber bands. Place one rubber band around the housing and your telescope or binoculars, ensuring it holds the filter firmly in place. Use the second rubber band in a similar manner, making sure the solar filter is securely attached.
Step 5: Test Your Solar Filter
Before you head out for solar viewing, it’s crucial to test your homemade solar filter. Find a safe spot away from direct sunlight and point your telescope or binoculars towards a distant, well-defined object. Look through the eyepiece, ensuring that the view is dimmed significantly. If you can still see a clear and bright image, the solar filter needs adjustments.
To improve the filter’s effectiveness, you can add more layers of solar filter film or increase the thickness of the housing. However, be cautious not to make the solar filter too dark, as it may hinder your ability to observe the sun’s details.
Step 6: Enjoy Safe Solar Viewing
Now that you have successfully created and tested your solar filter, you’re ready to experience the wonders of the sun safely. Remember to use your solar filter whenever you want to observe the sun, whether it’s during a solar eclipse or regular solar activity.
It’s important to note that your homemade solar filter should only be used for visual observation. Do not attempt to photograph the sun directly using this filter, as it may damage your camera or cause injury.
For an added layer of protection, you can also use a camera lens cap to cover the telescope or binoculars when not in use. Additionally, setting up your equipment on a stable tripod can improve stability and make your solar viewing experience more comfortable.
Final Thoughts
Creating your own solar filter allows you to engage in safe solar viewing without breaking the bank. By following these step-by-step instructions, you can protect your eyes from harmful solar radiation while enjoying the beauty of the sun. Remember to always prioritize safety and use caution when observing the sun.
So, gather your materials, get creative, and embark on a journey to explore the fascinating celestial wonders of our nearest star. Happy solar viewing!