Capture stunning images of the night sky with these expert techniques and unleash your inner astrophotographer.
Introduction
Night sky photography is a captivating and rewarding genre that allows you to capture the awe-inspiring beauty of the cosmos. Armed with a DSLR camera, you have the potential to unveil the majesty of stars, galaxies, and celestial phenomena in breathtaking detail. However, mastering the art of astrophotography requires careful planning, knowledge, and practice. In this article, we will guide you through seven essential steps to help you capture stunning images of the night sky using your DSLR camera.
Step 1: Find a Suitable Location
The first step to successful night sky photography is to find a location with minimal light pollution. Light pollution from cities and urban areas can wash out the stars and make it challenging to capture clear images of the night sky. Research and scout for locations that offer dark skies, away from artificial lights. National parks, remote countryside, and high-altitude areas often provide ideal conditions for astrophotography.
Step 2: Plan Your Shoot
Once you’ve identified a suitable location, it’s essential to plan your shoot. Check weather forecasts and moon phases to find nights with clear skies and minimal moonlight. Full moons can be beautiful, but they can also wash out the stars, making it difficult to capture their brilliance. Aim for nights with a crescent or new moon when the sky is darker. Additionally, consider astronomical events such as meteor showers or planetary alignments to add extra interest to your shots.
Step 3: Prepare Your Gear
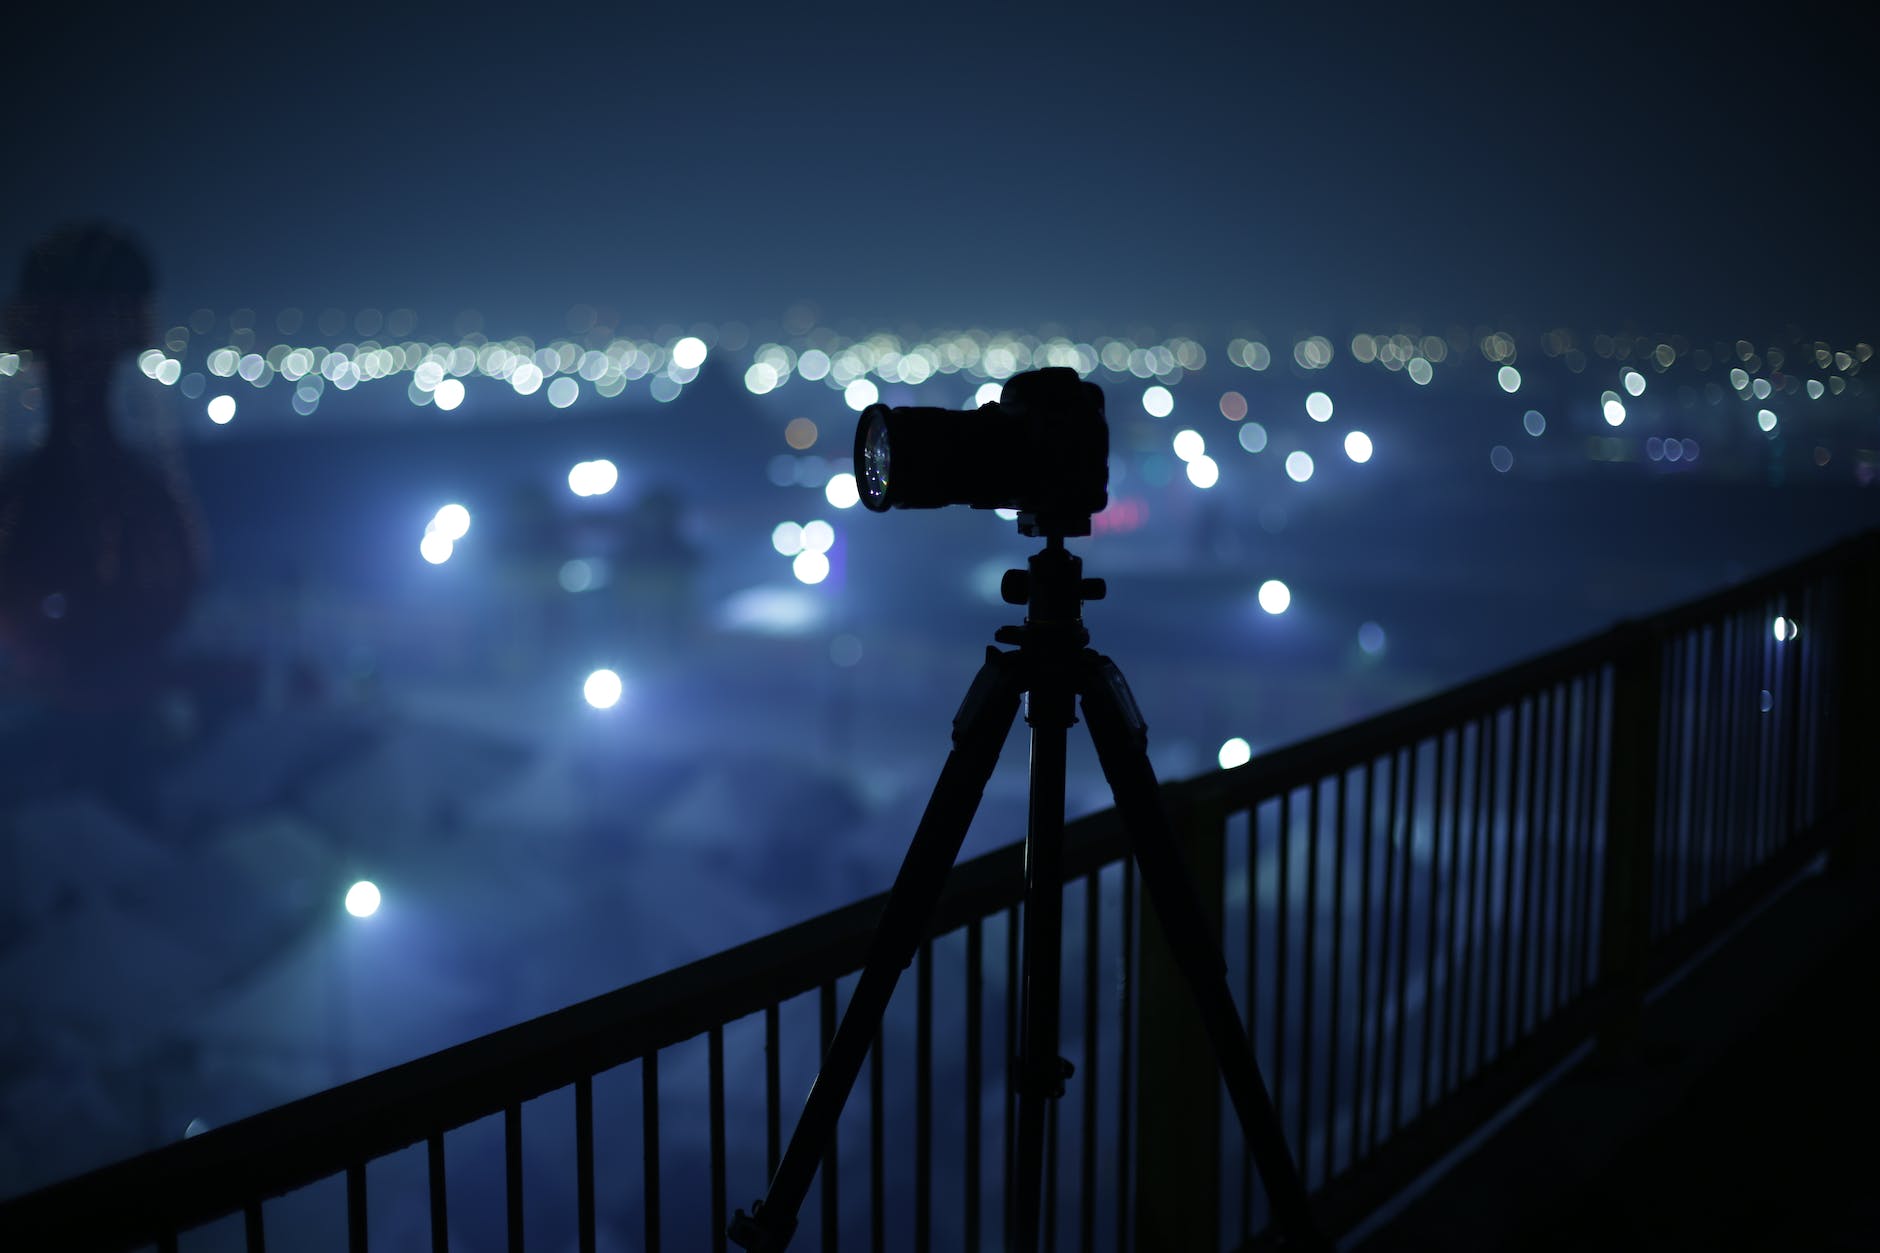
Before heading out, ensure that your DSLR camera is in optimal condition. Clean the sensor and lenses to avoid unwanted dust spots in your images. Attach a sturdy tripod to eliminate camera shake during long exposures. A remote shutter release or intervalometer will allow you to trigger the camera without physically touching it, further reducing the risk of vibration. Additionally, bring spare batteries and memory cards to avoid disappointment in the field.
Step 4: Adjust Camera Settings
When photographing the night sky, it’s crucial to use manual mode on your DSLR camera. Start by setting your camera to its highest native ISO, typically around 1600-3200, to capture as much light as possible. Choose a wide aperture, such as f/2.8 or lower, to let in more light and create a shallow depth of field. Adjust the focus to infinity, ensuring that the stars appear sharp. If your lens has a distance scale, use tape to lock the focus ring in place.
Step 5: Master the Long Exposure Technique
Long exposures are essential for capturing the faint details and intricate patterns of the night sky. Set your camera to Bulb mode or a long exposure time of at least 20 seconds. Use a remote shutter release or intervalometer to open the shutter without touching the camera, preventing any movement. Experiment with different exposure times to find the perfect balance between capturing enough light and avoiding star trailing.
Step 6: Experiment with Composition
Composition plays a vital role in astrophotography. Look for interesting foreground elements such as trees, mountains, or landmarks that can complement the night sky. Position these elements carefully in your frame to create a sense of depth and perspective. Remember the rule of thirds and consider using leading lines to guide the viewer’s eye towards the stars. Don’t be afraid to experiment and try different angles and perspectives to find the most captivating composition.
Step 7: Post-Processing for Stunning Results
Post-processing is the final step to bring out the best in your night sky images. Import your RAW files into a photo editing software such as Adobe Lightroom or Capture One. Start by adjusting the exposure, contrast, and white balance to enhance the overall look of the image. Use the noise reduction tool to minimize any digital noise introduced by high ISO settings. Fine-tune the colors to bring out the vibrancy of the stars and galaxies. Remember to maintain a natural look and avoid excessive editing that can make your image appear unrealistic.
Conclusion
By following these seven essential steps, you can confidently venture into the realm of night sky photography with your DSLR camera. Remember, practice makes perfect, so don’t be discouraged if your initial attempts don’t yield the desired results. Experiment, learn from your mistakes, and refine your techniques over time. With dedication and persistence, you’ll be able to capture stunning images of the night sky that will leave viewers in awe of the universe’s grandeur. Happy shooting!

