Unlock the wonders of the cosmos with these expert tips and instructions on setting up and using your telescope.
Are you ready to embark on an awe-inspiring journey through the vast reaches of space? If you’ve recently acquired a telescope or are considering getting one, you’re in for an extraordinary adventure. To ensure you make the most of your astronomical endeavors, we’ve compiled a comprehensive guide that will take you step by step through the process of setting up and using your telescope. Let’s dive in!
Step 1: Choose the Right Telescope
Before diving into the technicalities of setting up your telescope, it’s crucial to have the right equipment. Telescopes come in various types and sizes, each suited for different purposes. Refractor telescopes are ideal for beginners due to their ease of use, while reflector telescopes offer larger apertures for enhanced image quality. Research different telescope types, consider your budget, and choose the one that best aligns with your astronomical interests.
Step 2: Find a Suitable Viewing Location
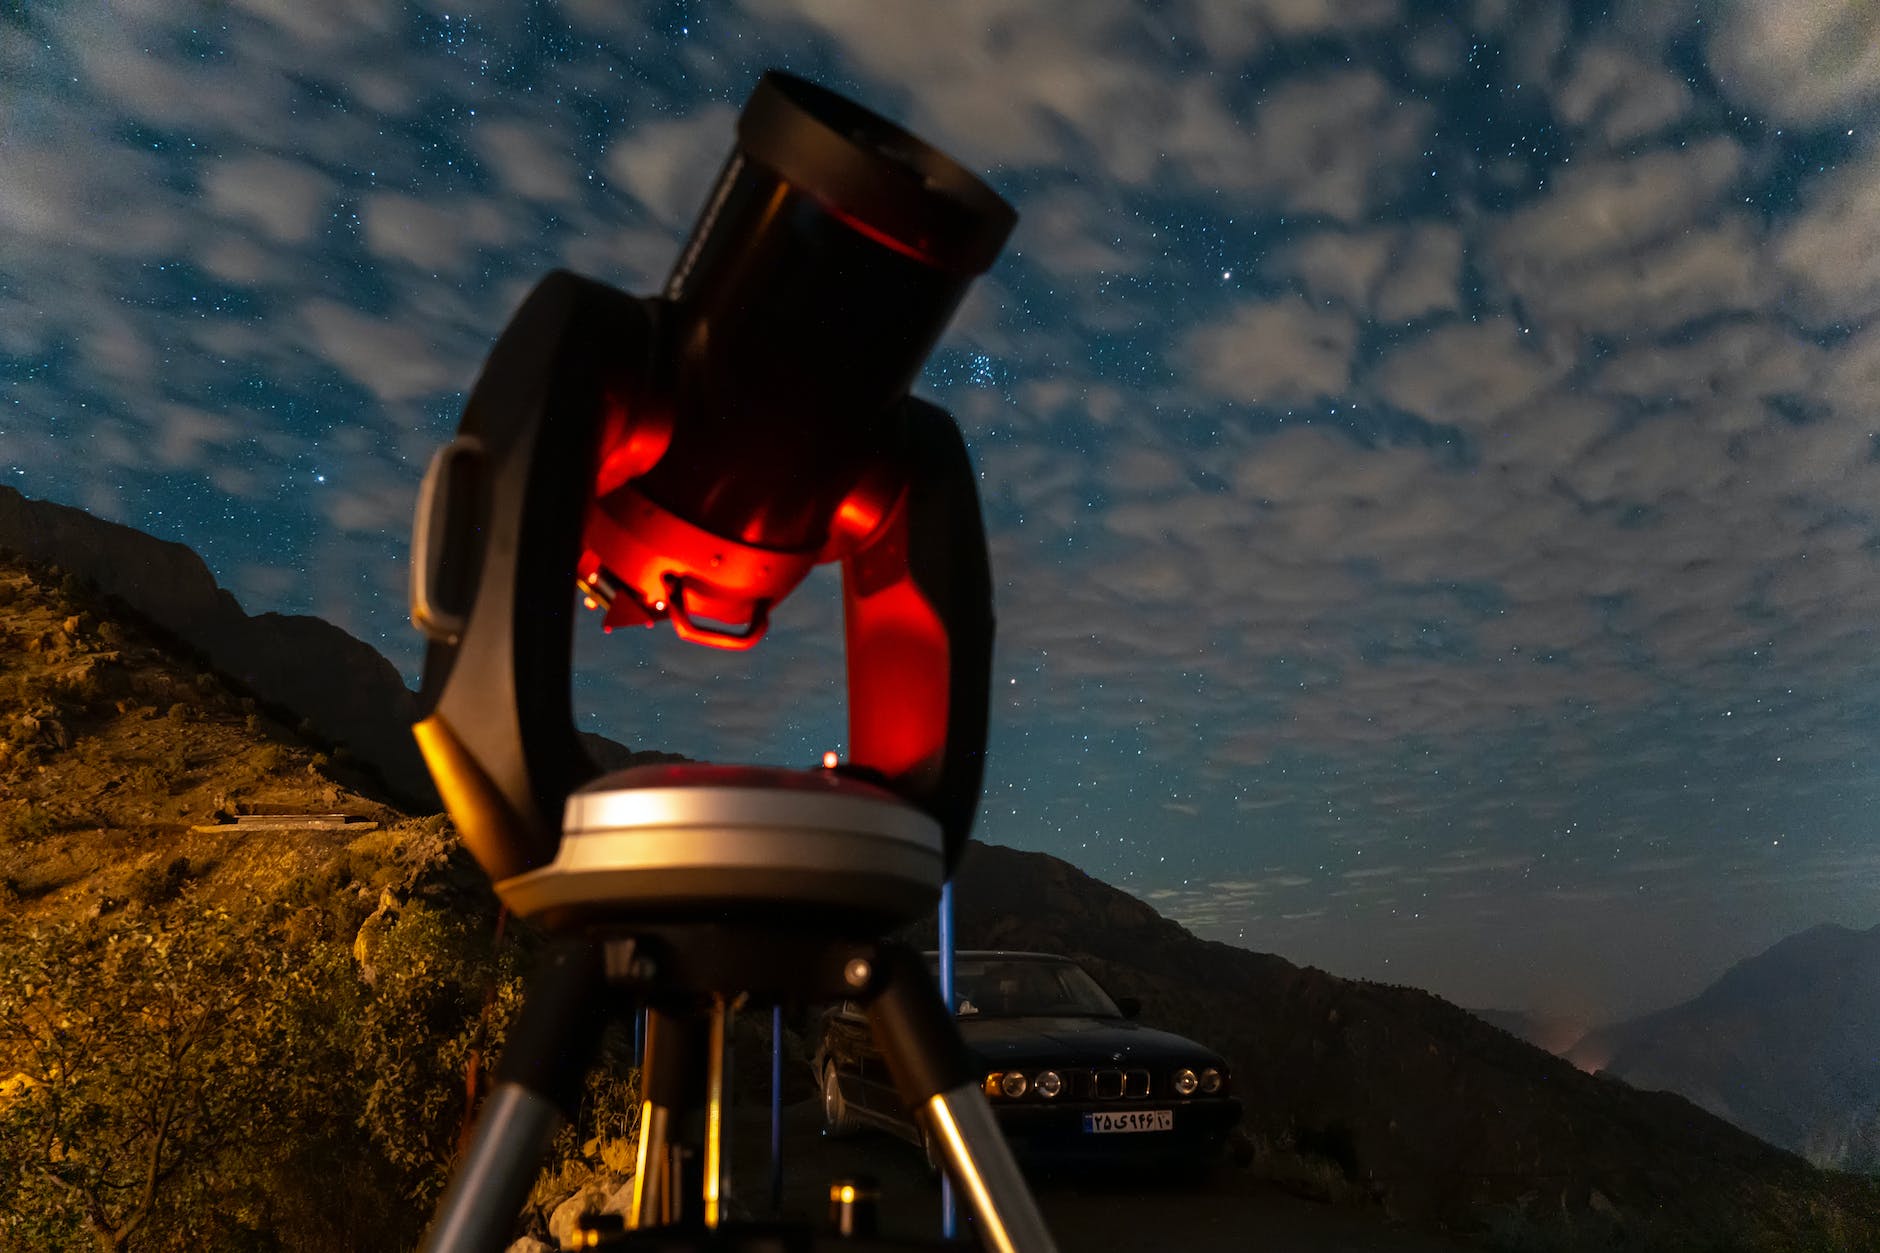
A key factor in maximizing your stargazing experience is finding the perfect viewing location. Light pollution from cities and other sources can significantly hinder your ability to observe celestial objects. Seek out a dark-sky site, away from bright city lights, where the sky appears relatively unpolluted. A backyard or a nearby park, preferably on higher ground, can serve as excellent observation spots.
Step 3: Assemble Your Telescope
Once you’ve found an ideal location, it’s time to assemble your telescope. Begin by carefully unpacking all the components and organizing them. Follow the manufacturer’s instructions to ensure proper assembly, as different telescope models may have specific requirements. Be patient and meticulous during this process to avoid any mishaps or damage to your equipment.
Step 4: Mount the Telescope
Properly mounting your telescope is essential for stability and ease of use. Most telescopes come with an equatorial mount or an altazimuth mount. The equatorial mount aligns with the Earth’s axis, making it simpler to track celestial objects. The altazimuth mount offers more straightforward movements but requires manual adjustments in both vertical and horizontal axes. Choose the mount that suits your needs and attach your telescope securely.
Step 5: Align the Finder Scope
The finder scope is a smaller, lower-power telescope mounted on top of the main telescope. It helps you locate celestial objects before focusing on them with the main telescope. To align the finder scope, point your telescope at a distant object during the daytime and adjust the finder scope’s alignment screws until both the finder scope and the object are centered in the field of view. This alignment will aid in locating celestial objects accurately.
Step 6: Understand Telescope Eyepieces
Eyepieces play a vital role in magnifying and focusing the images you observe. Different eyepieces offer varying levels of magnification, and the choice of eyepiece depends on the object you want to view and the desired level of detail. Experiment with different eyepieces to find the perfect balance between magnification and image clarity. Remember, a higher magnification may result in a dimmer image, so choose wisely.
Step 7: Polar Alignment for Equatorial Mounts
For telescopes equipped with equatorial mounts, polar alignment is crucial for precise tracking of celestial objects. Polar alignment aligns the telescope’s polar axis with the Earth’s axis, allowing for accurate star tracking. Use a polar alignment scope or a smartphone app to locate the North Star (Polaris) and adjust the mount’s altitude and azimuth screws until the star remains centered in the field of view over time. This alignment will optimize your telescope’s tracking capabilities.
Step 8: Calibrate and Focus the Telescope
Before you can start observing the wonders of the cosmos, it’s essential to calibrate and focus your telescope. Begin by pointing your telescope at a distant, well-defined object during daylight, such as a building or a distant tree. Use the telescope’s focusing knobs to achieve a sharp, clear image. Once you have obtained a focused image, your telescope is ready for nighttime observations.
Step 9: Explore the Night Sky
Now comes the exciting part—exploring the night sky with your telescope. Familiarize yourself with star charts and astronomy apps to identify celestial objects of interest. Begin by observing bright and easily recognizable objects like the Moon, planets, and prominent star clusters. As you gain confidence, gradually move on to more challenging targets, such as nebulae, galaxies, and double stars. Take your time, enjoy the process, and don’t forget to keep a record of your observations.
Step 10: Maintenance and Care
To ensure the longevity and optimal performance of your telescope, proper maintenance and care are crucial. After each observing session, cover your telescope with a protective cap or case to shield it from dust and moisture. Avoid touching the telescope’s mirrors and lenses with your fingers to prevent smudges and damage. Regularly clean the optics using recommended cleaning tools and techniques. Additionally, keep your telescope stored in a cool, dry place away from extreme temperatures and humidity.
Conclusion
Congratulations on setting up and using your telescope! You’ve now embarked on a captivating journey of exploration and discovery. By following these ten steps, you’ll be able to make the most of your telescope and delve deeper into the mysteries of the cosmos. Remember to continuously expand your knowledge, connect with other astronomy enthusiasts, and embrace the joy of observing celestial wonders. Happy stargazing!
Note: For a more comprehensive guide and in-depth information on specific telescope models, it’s recommended to refer to the manufacturer’s instructions and seek advice from experienced astronomers.